
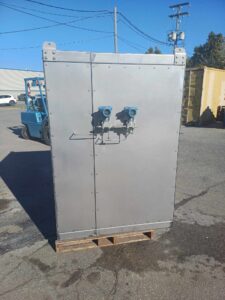
Air-Tight Sheet Metal Assembly Checklist: Potential Problems with Air-Tightness
Use this checklist to identify common issues that could compromise air-tightness. Review each point carefully to ensure your assembly is leak-free.
3 Effective Methods to Verify Air Tightness in Sheet Metal Assemblies
Ensuring that your sheet metal assembly is air-tight is essential for preventing leaks that could compromise functionality, safety, or performance. After applying sealants or assembling joints, it’s important to verify that no air leaks are present. Below are three effective methods you can use to check for air leaks in sheet metal structures.
1. Soap and Water Solution (Bubble Test)
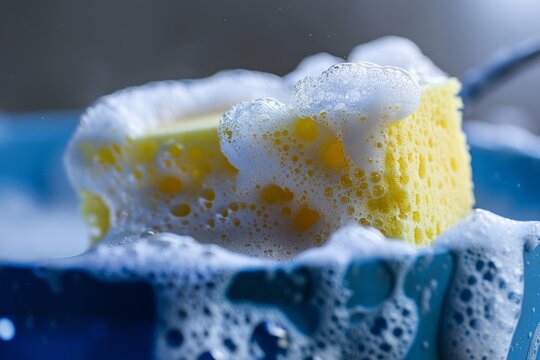
Description:
This is one of the simplest and most cost-effective methods to check for air leaks. It involves applying a soap and water solution to the sealed areas of the assembly and looking for bubbles, which will indicate escaping air.
Procedure:
- Mix a solution of mild dish soap and water in a spray bottle.
- Apply the solution generously around the joints and sealant lines, focusing on areas where leaks are most likely to occur.
- Observe the applied areas closely. If you see bubbles forming, it indicates that air is escaping through the joint, revealing a leak.
- Mark the location of the leak and reapply the sealant or fix the joint as necessary.
Pros:
- Simple and inexpensive.
- Works well for small-scale or less complex assemblies.
- Quick and easy to perform.
Cons:
- Not as effective for large or hard-to-reach joints.
- May not work well in environments where the temperature or humidity fluctuates rapidly.
2. Smoke Test

Description:
The smoke test uses a smoke-generating device to create a visible trail that will reveal air currents and potential leaks. This method is particularly useful for larger or more complex assemblies.
Procedure:
- Set up a smoke generator or use a smoke pen, which releases a small amount of smoke when activated.
- Close all openings and seal off any vents or exhausts to ensure a controlled environment.
- Move the smoke source slowly around the edges and seams of the assembly. Watch for the smoke to be disturbed or sucked into any gaps, which indicates air movement through a leak.
- Mark the leak points and take appropriate steps to seal them.
Pros:
- Effective for detecting leaks in complex or large assemblies.
- Can be used in a controlled environment, such as a test chamber or an enclosed room.
- Provides a clear visual indication of air movement.
Cons:
- Requires specialized equipment (smoke generator or smoke pen).
- May not work well in outdoor environments with strong airflow or drafts.
3. Pressure Differential Testing
Description:
Pressure differential testing, also known as a "blower door test," involves creating a pressure difference between the inside and outside of the assembly and measuring how much air escapes. This method is highly accurate and commonly used for HVAC systems, buildings, or industrial applications.
Procedure:
- Set up a blower door (a fan used to create a pressure differential) at a controlled opening of the sheet metal assembly.
- Seal off all other openings and ensure that only one designated exit is being tested.
- The blower door will increase the pressure inside the assembly, while a manometer (a device that measures pressure) will be used to measure the air leakage rate.
- A higher rate of air leakage indicates a larger leak. If the manometer shows a high level of airflow, it suggests that air is escaping through gaps in the joints or seals.
- Identify and mark the locations where the leaks are occurring, then reapply sealant or address the source of the leak.
Pros:
- Highly accurate and effective for large-scale, complex systems.
- Provides precise data on air leakage rates.
- Can be used to determine overall airtightness of the entire assembly.
Cons:
- Requires specialized equipment (blower door and manometer).
- More time-consuming and expensive than simpler methods.
- Typically used for larger systems, not always necessary for smaller or simpler assemblies.
Conclusion:
Each of these methods provides a reliable way to test for air leaks in sheet metal assemblies. The soap and water solution is the easiest and most cost-effective for small-scale applications, while the smoke test is ideal for larger or more complex systems. For the most precise results, especially in larger systems, pressure differential testing offers a comprehensive analysis of air leakage. By choosing the right testing method for your specific needs, you can ensure that your assembly is truly air-tight and meets quality standards.
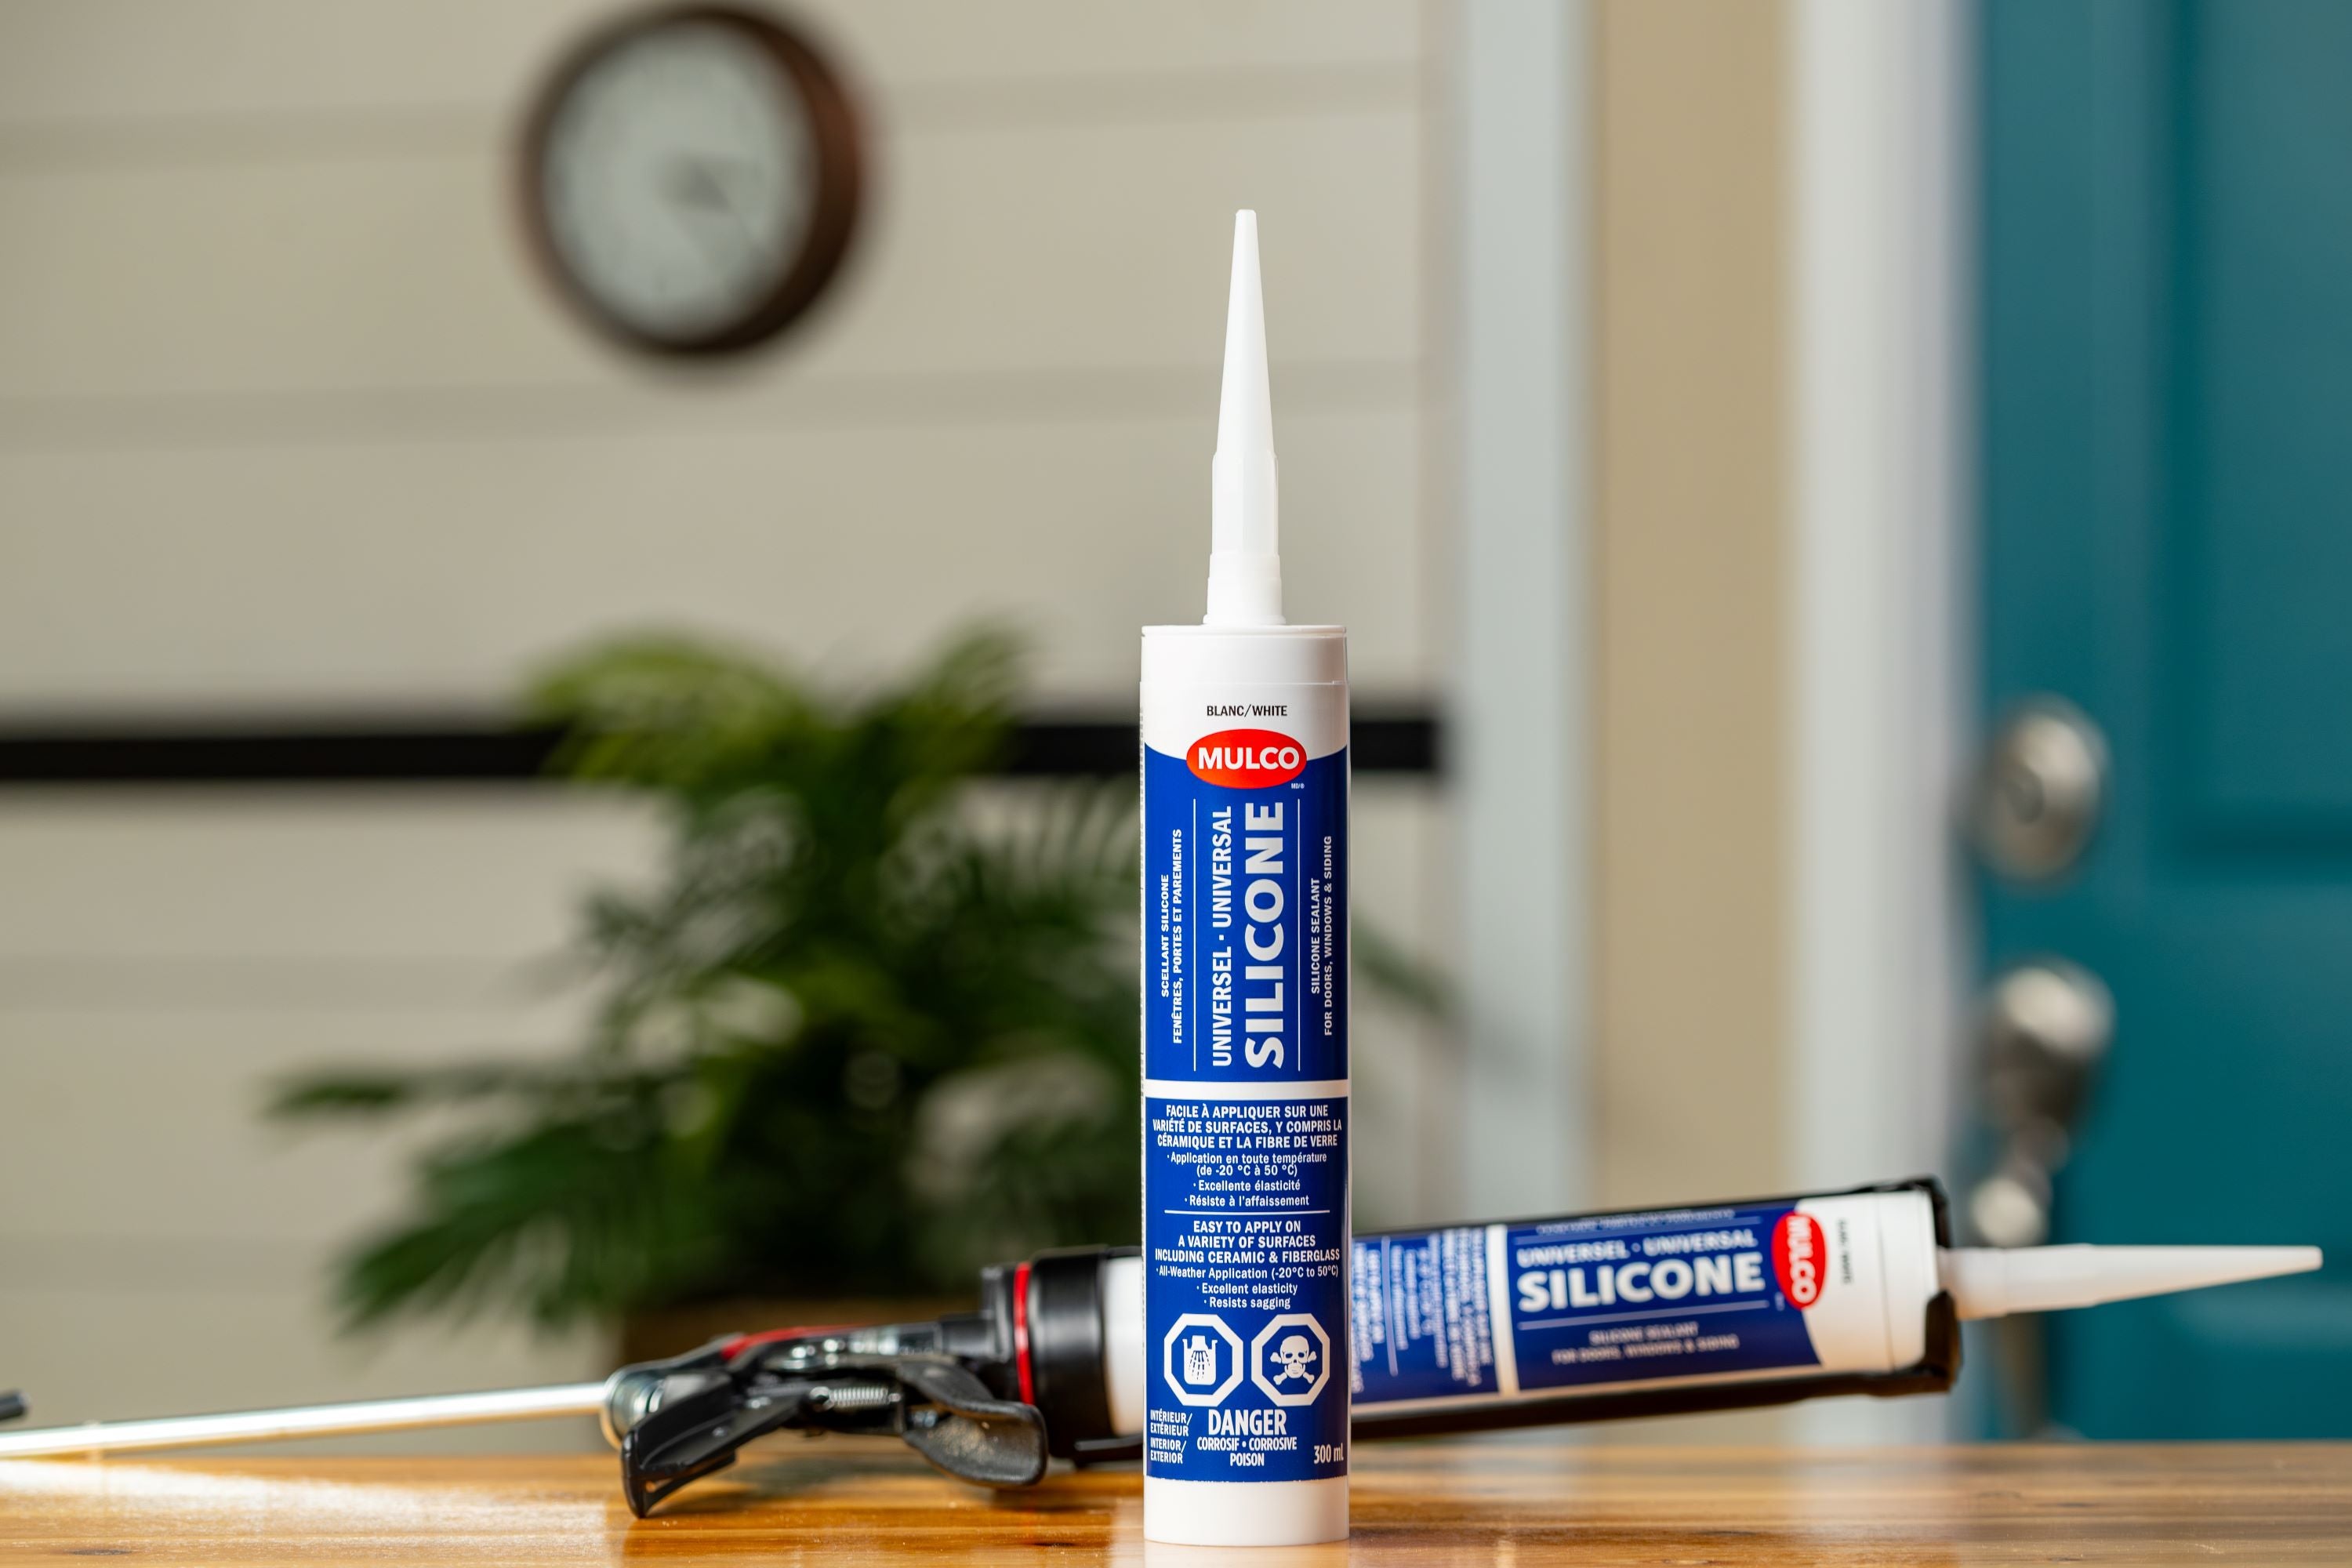
Choosing the Right Sealant for Your Sheet Metal Projects: A Quick Comparison
Selecting the correct sealant is crucial for ensuring the air-tightness, durability, and performance of sheet metal assemblies. With so many types available, understanding their specific uses, benefits, and limitations can be challenging. This guide offers a brief comparison of the most common sealant technologies, helping you choose the best one for your project based on its environment and application needs.

| Criteria | Silicone Sealant | Butyl Sealant | Winner |
|---|---|---|---|
| Adhesion | Bonds well to metal, glass, ceramics, and plastics. Strong adhesion to smooth, non-porous surfaces. | Excellent adhesion to metals, plastics, and glass, but requires clean, dry surfaces. | Tie |
| Waterproofing | Highly resistant to water and moisture, perfect for outdoor use. | Exceptional waterproofing ability, great for sealing in environments with constant moisture. | Tie |
| Flexibility | Remains highly flexible even in extreme temperatures, great for joints that may experience movement. | Less flexible than silicone, but still works well for applications with moderate expansion or pressure. | Silicone |
| Temperature Resistance | Excellent heat resistance, can withstand high temperatures, making it ideal for outdoor or high-temp environments. | Not suitable for high-temperature environments. | Silicone |
| Curing Time | Requires curing, usually within 24 hours. | Does not require curing; it’s ready immediately after application. | Butyl |
| Ease of Application | Applied using a caulking gun; smooth bead is easy to apply, though it can be a bit messy. | Pre-formed roll that’s easy to apply, less mess, but sticky to handle. | Butyl |
| Durability | Durable, but may degrade under prolonged UV exposure unless specifically UV-resistant. | Highly durable, great for weatherproofing, and resistant to harsh environments, including extreme moisture. | Butyl |
| UV Resistance | Excellent resistance to UV radiation, making it ideal for outdoor applications. | Poor UV resistance, tends to degrade when exposed to sunlight. | Silicone |
| Aesthetic | Clean finish that can be smoothed for an even look. However, not paintable. | Leaves visible marks, and the finish may be less smooth, not ideal for projects requiring aesthetic precision. | Silicone |
| Cost | Generally more expensive than butyl sealant. | More affordable and cost-effective for large projects. | Butyl |